

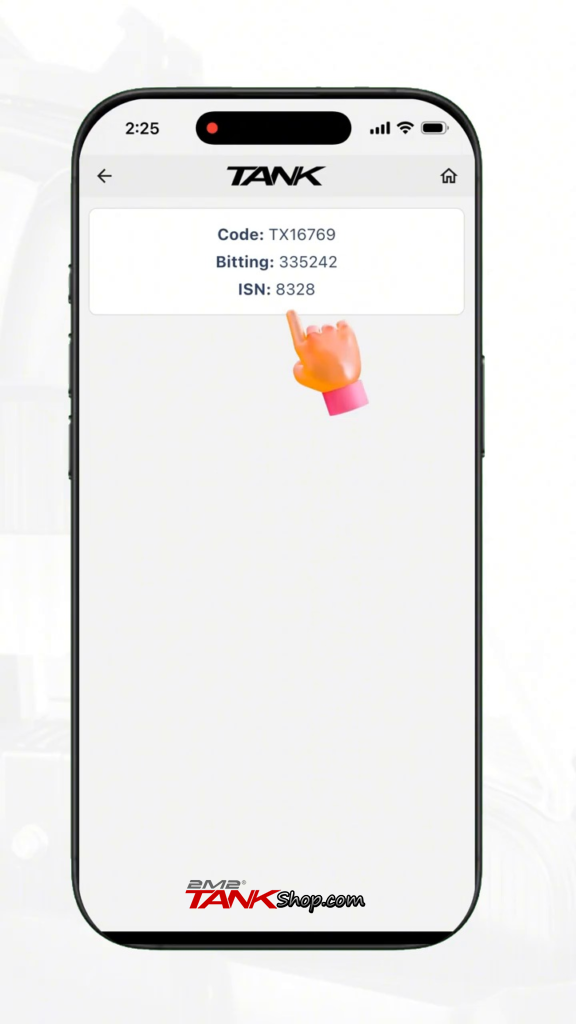
This guide shows how to cut an ABUS 72/40 padlock key by code with the 2M2 TANK CNC key cutting machine. In the demonstration, the code stamped on the original key is TX16769. The TANK app identifies the AB3 six-cut profile and returns bitting 335242 (ISN: 8328), which is then used to cut a replacement key.
Tools Required
- 2M2 TANK CNC key cutting machine and the TANK app
- T2 CLAMP
- Original ABUS key with TX16769 stamped on the bow
- Matching AB3 six-cut, standard single-sided shoulder key blank
- 2.0 mm cutter and 1.0 mm probe (as displayed in the app)
- Compatible machine clamp/fixture and an ABUS 72/40 padlock for the fit check

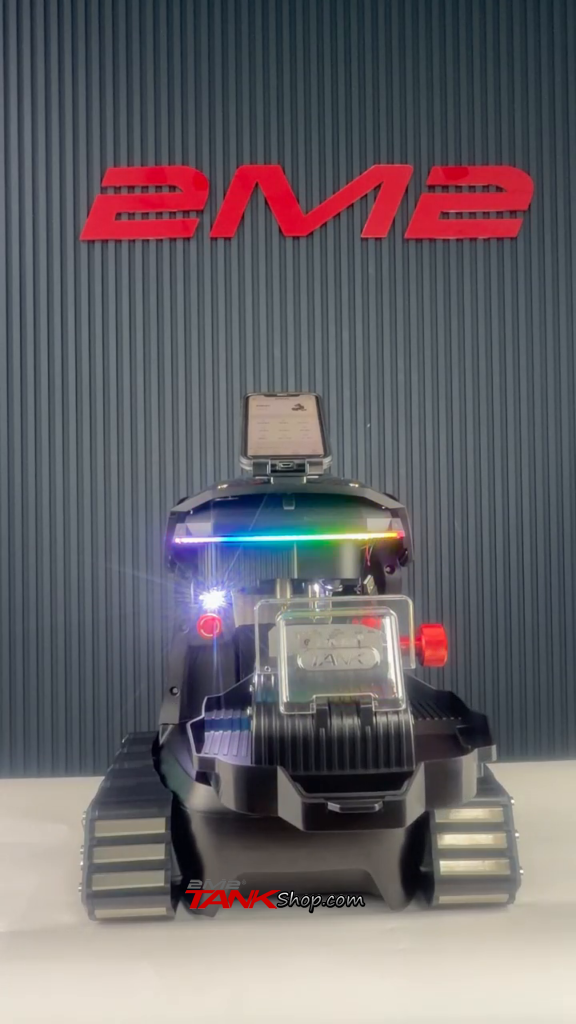
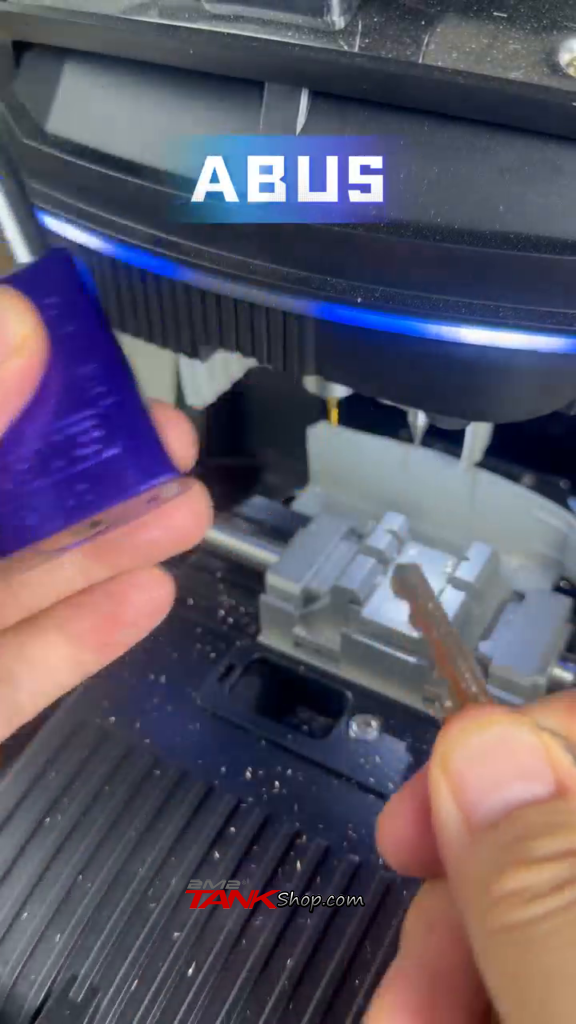
Video demo:

Procedure
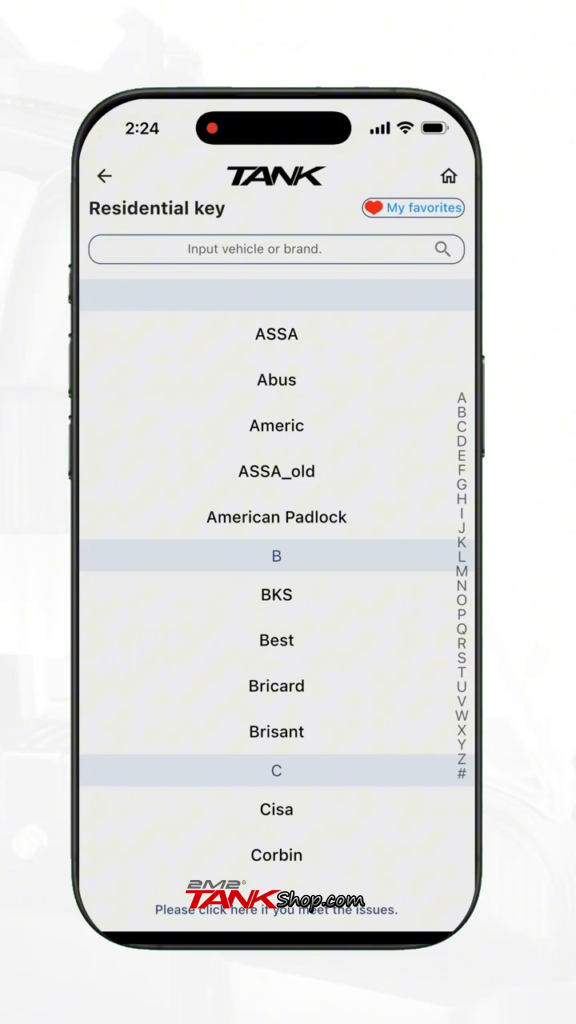
STEP 1 Open Residential Key and select ABUS
On the TANK app home screen, choose Residential Key, then select ABUS from the manufacturer list.
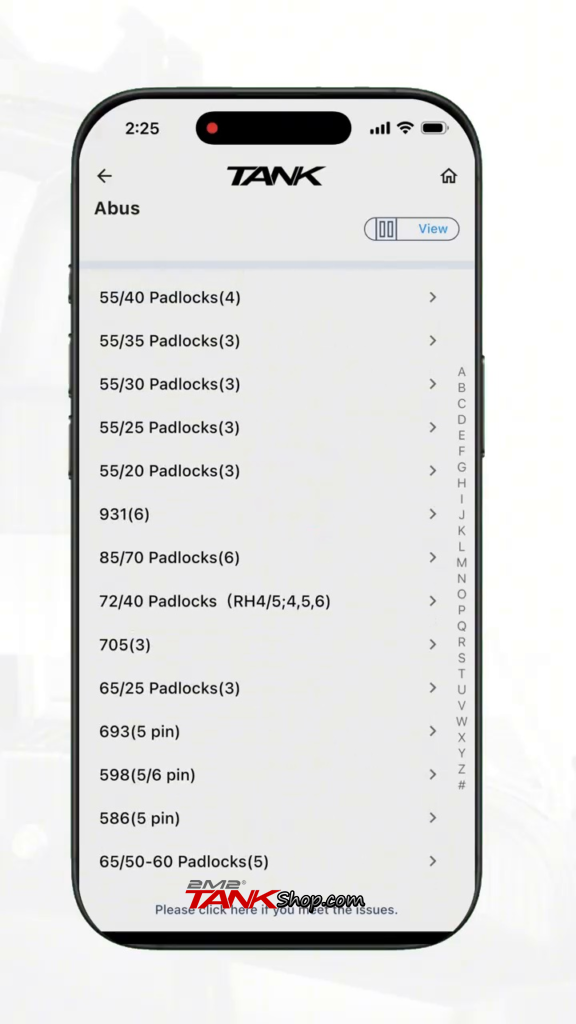
STEP 2 Select the 72/40 Padlocks category
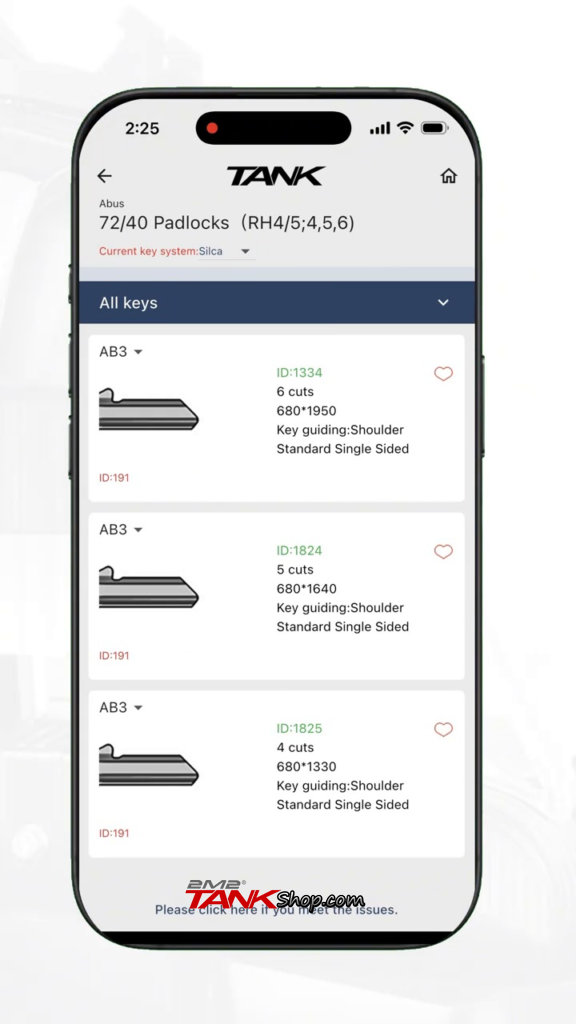
Open “72/40 Padlocks (RH4/5,4,5,6)” in the ABUS database to view the matching key profiles.
STEP 3 Choose the AB3 six-cut profile
Select the AB3 profile listed as 6 cuts, 68°1950, with shoulder guidance and a standard single-sided key. The database also shows shorter AB3 options, so confirm the six-cut profile before continuing.
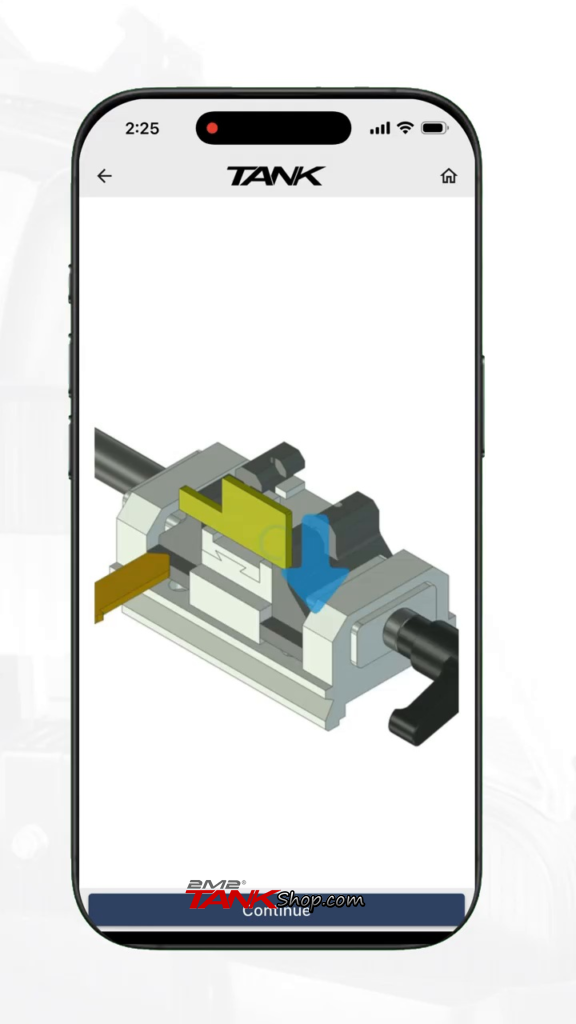
STEP 4 Review the clamp guide and tool settings
Follow the app’s clamping illustration and secure the blank in the compatible machine clamp. The demonstrated setup shows Standard mode, Cutter: 2.0 mm and Probe: 1 mm. Confirm the installed tools match.
STEP 5 Read the code stamped on the original key
Check the key bow and identify the code TX16769. Enter the characters exactly as stamped on the original key.
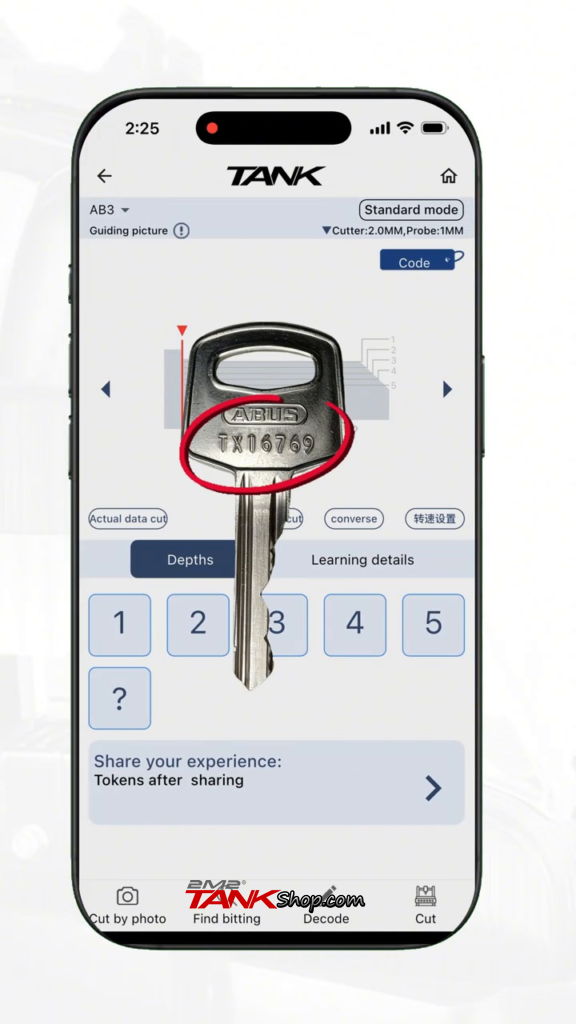
STEP 6 Enter TX16769 in the TANK app
Tap Code on the AB3 profile screen, enter TX16769 in the input field and confirm the entry.
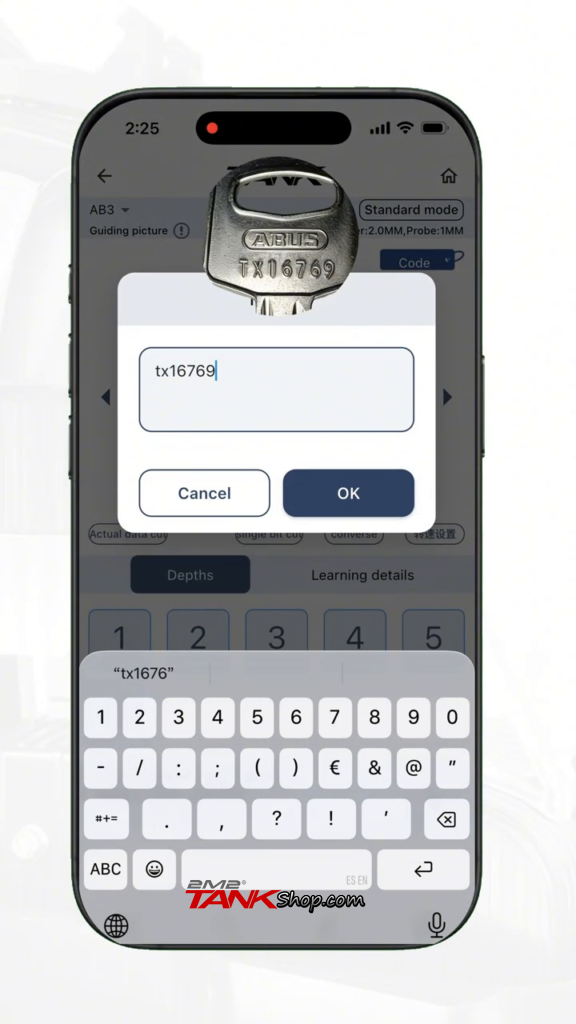
STEP 7 Confirm the returned bitting
The app displays Code: TX16769, Bitting: 335242 and ISN: 8328. The six cut positions are 3-3-5-2-4-2. Check the returned data before starting the cutting cycle.
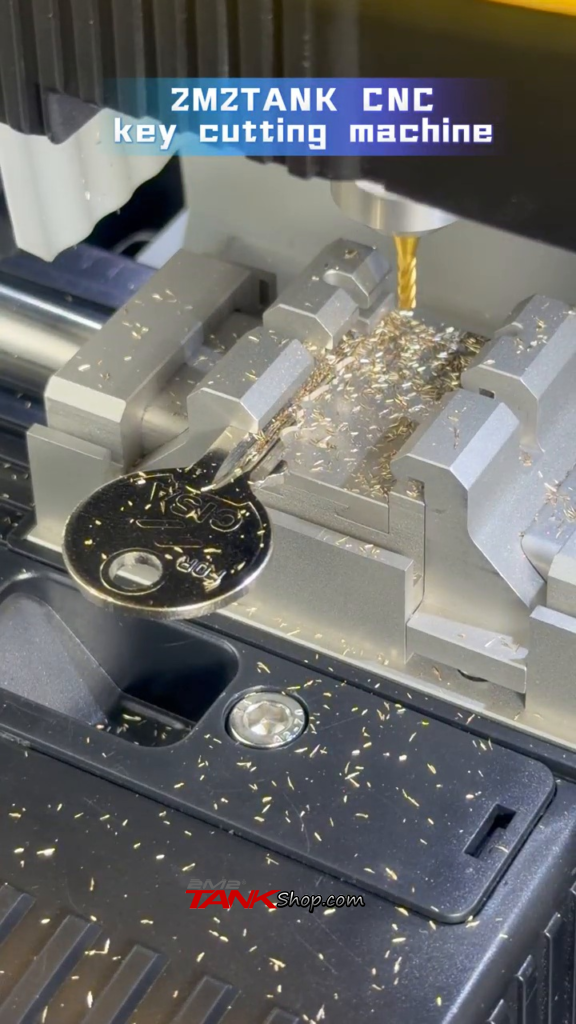
STEP 8 Cut the key on the 2M2 TANK machine
After confirming the profile, bitting and tool setup, start the programmed cutting cycle. Allow the machine to finish before removing the key from the clamp.
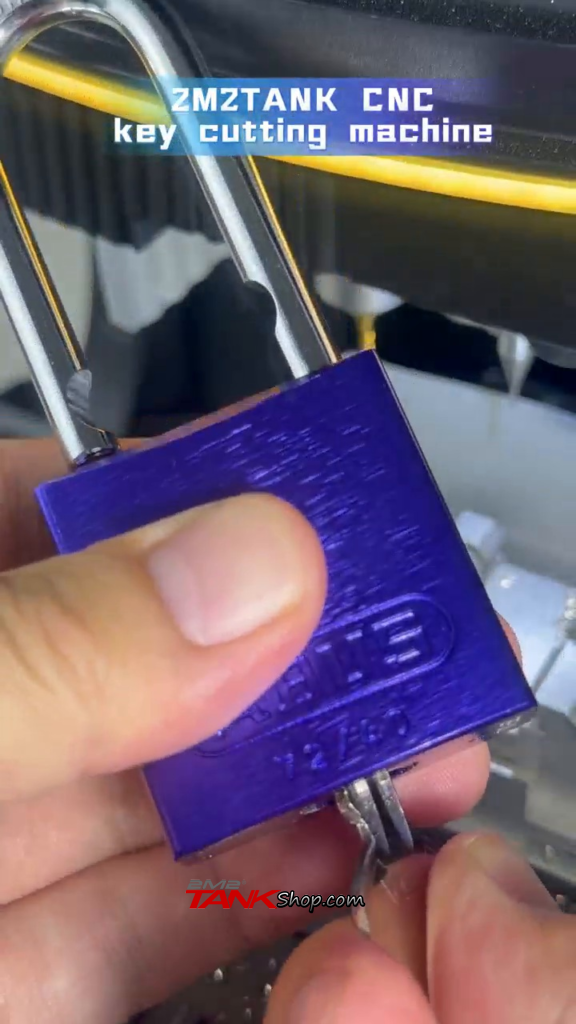
STEP 9 Inspect and test-fit the finished key
Remove the key and inspect the cuts. The video shows the newly cut key being inserted into the ABUS 72/40 padlock for a fit check. Confirm smooth insertion and operation before handing it over.
Important Notes
-
TX16769 and bitting 335242 are specific to the key shown in this demonstration; do not apply them to other ABUS keys without verification.
-
Confirm the database path and the six-cut AB3 profile before entering the code.
-
The app shows a 2.0 mm cutter and a 1.0 mm probe for this setup. Check the actual installed tools and machine instructions before cutting.
-
Use the on-screen clamping guide and make sure the blank is firmly secured before starting the cycle.